
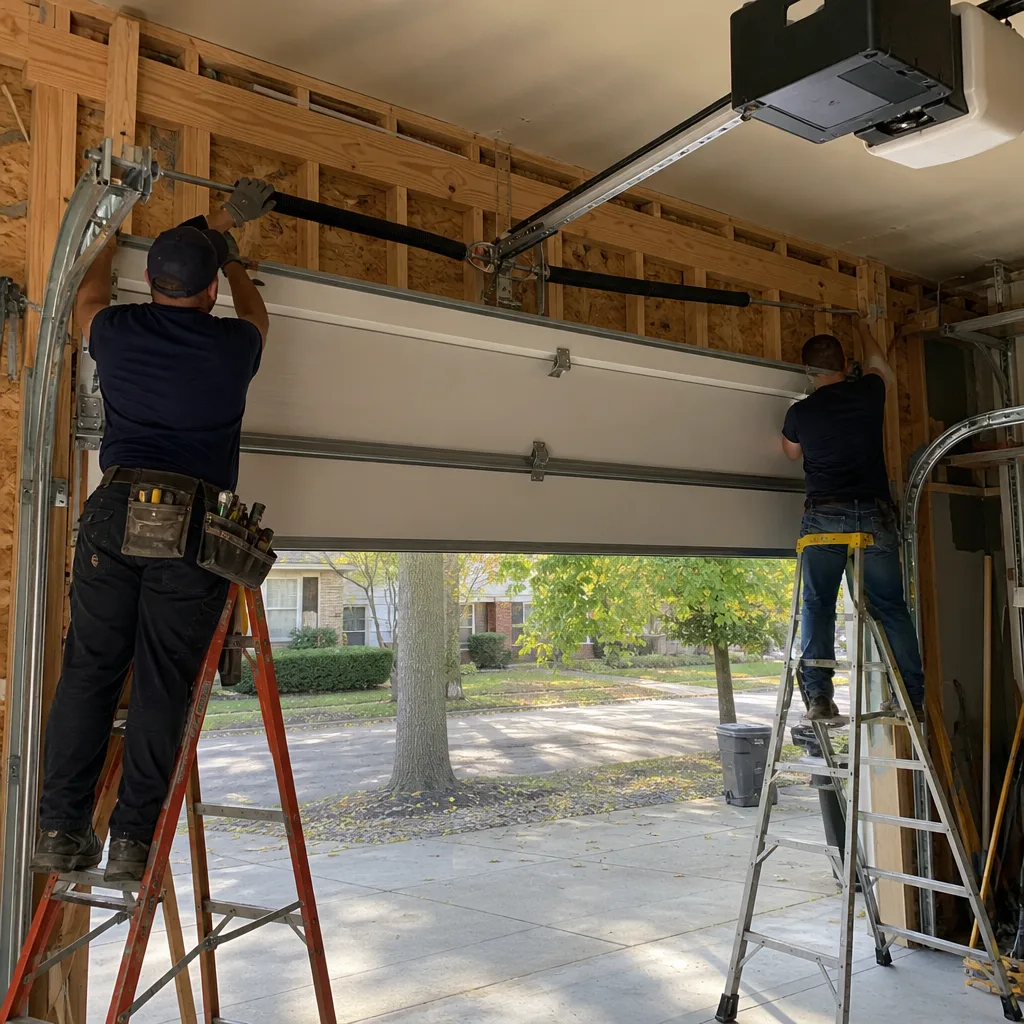
Last updated November 21, 2026
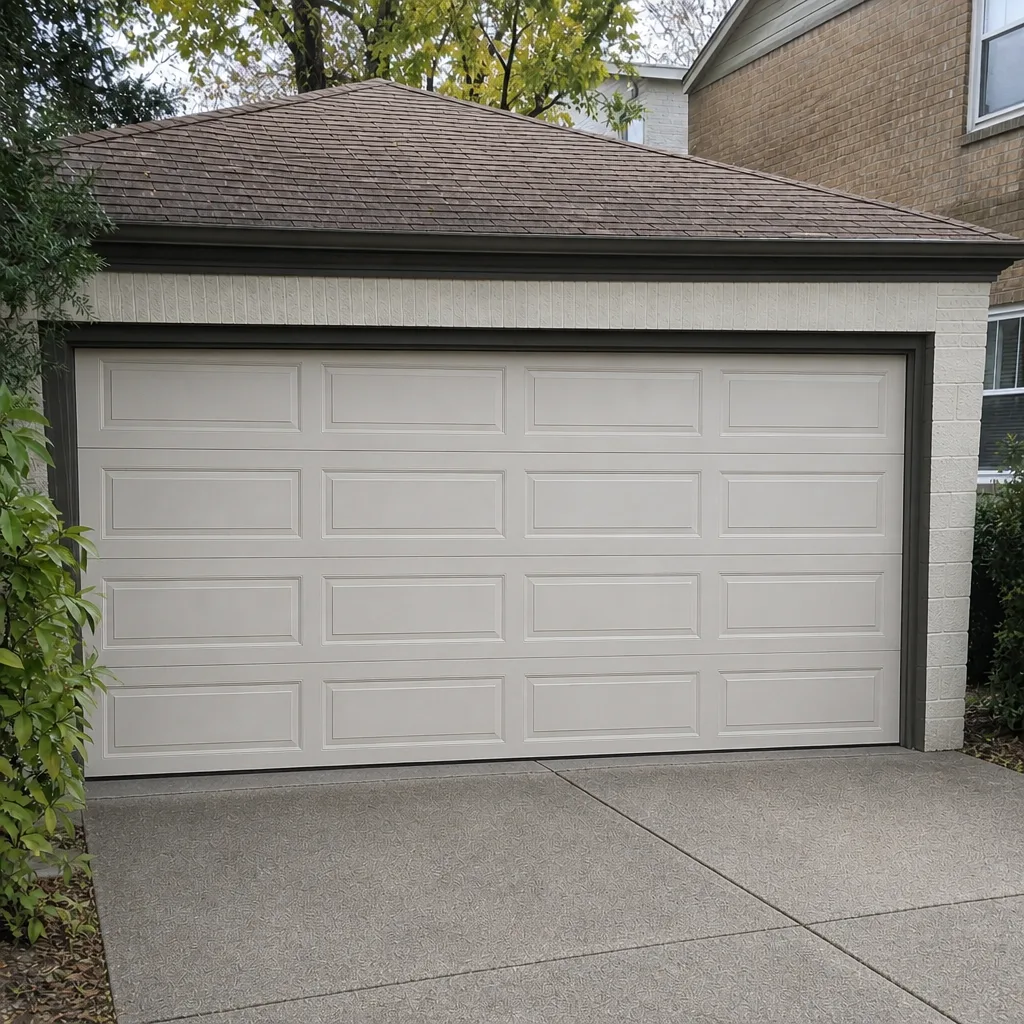
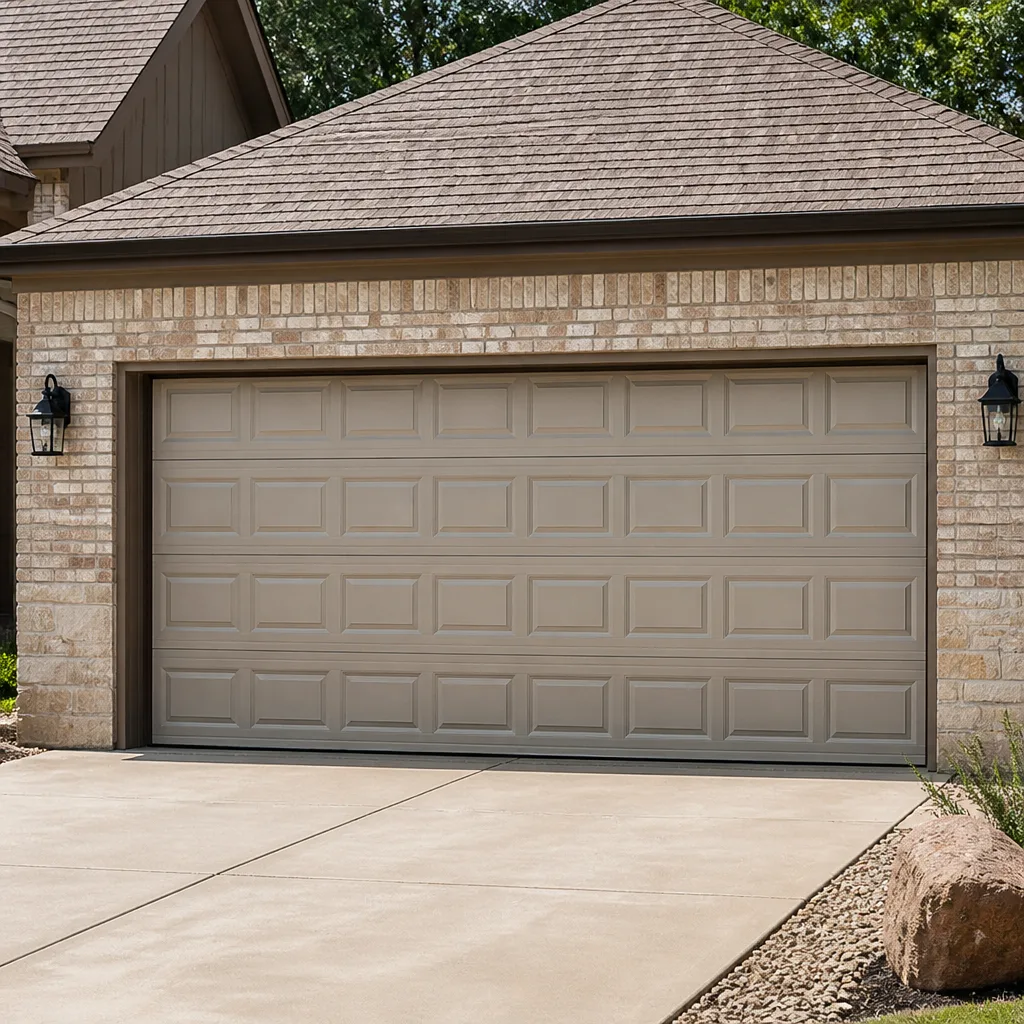 Raised-panel steel
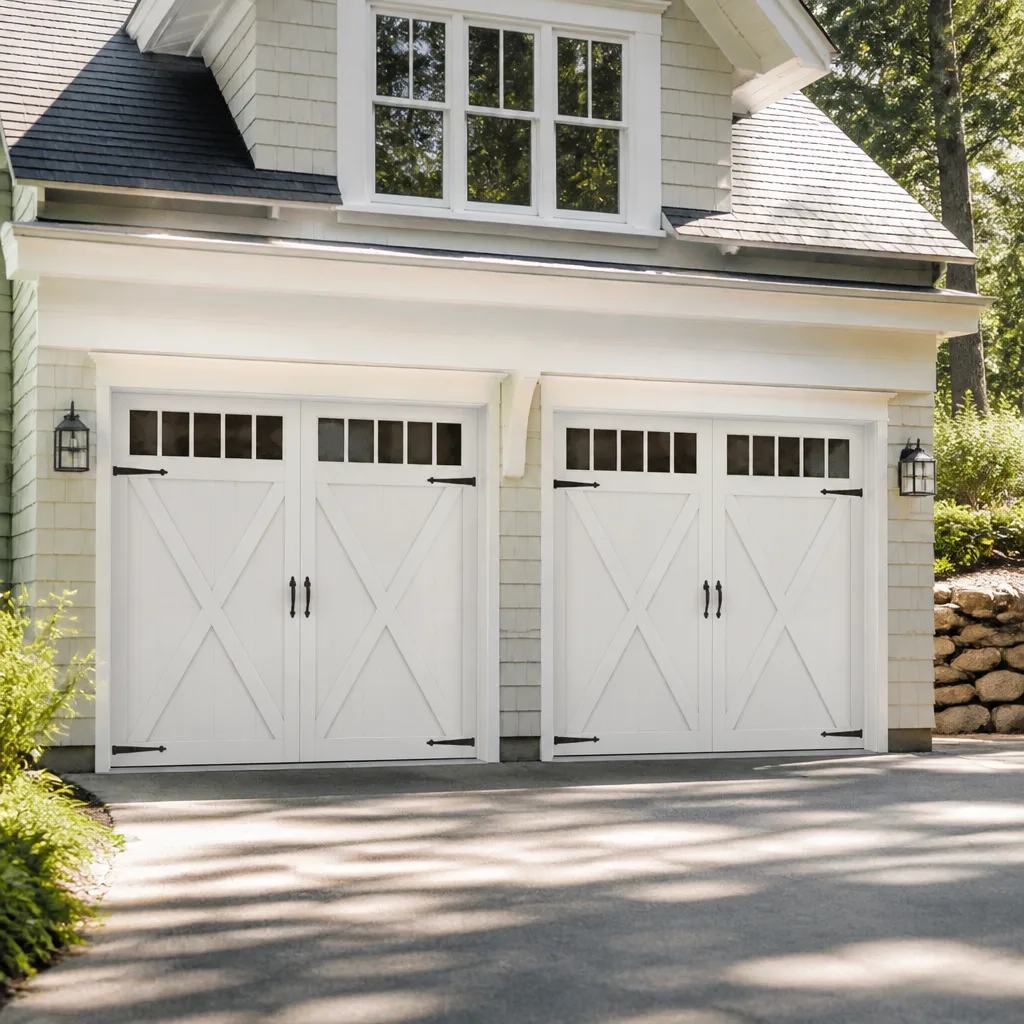 Carriage house
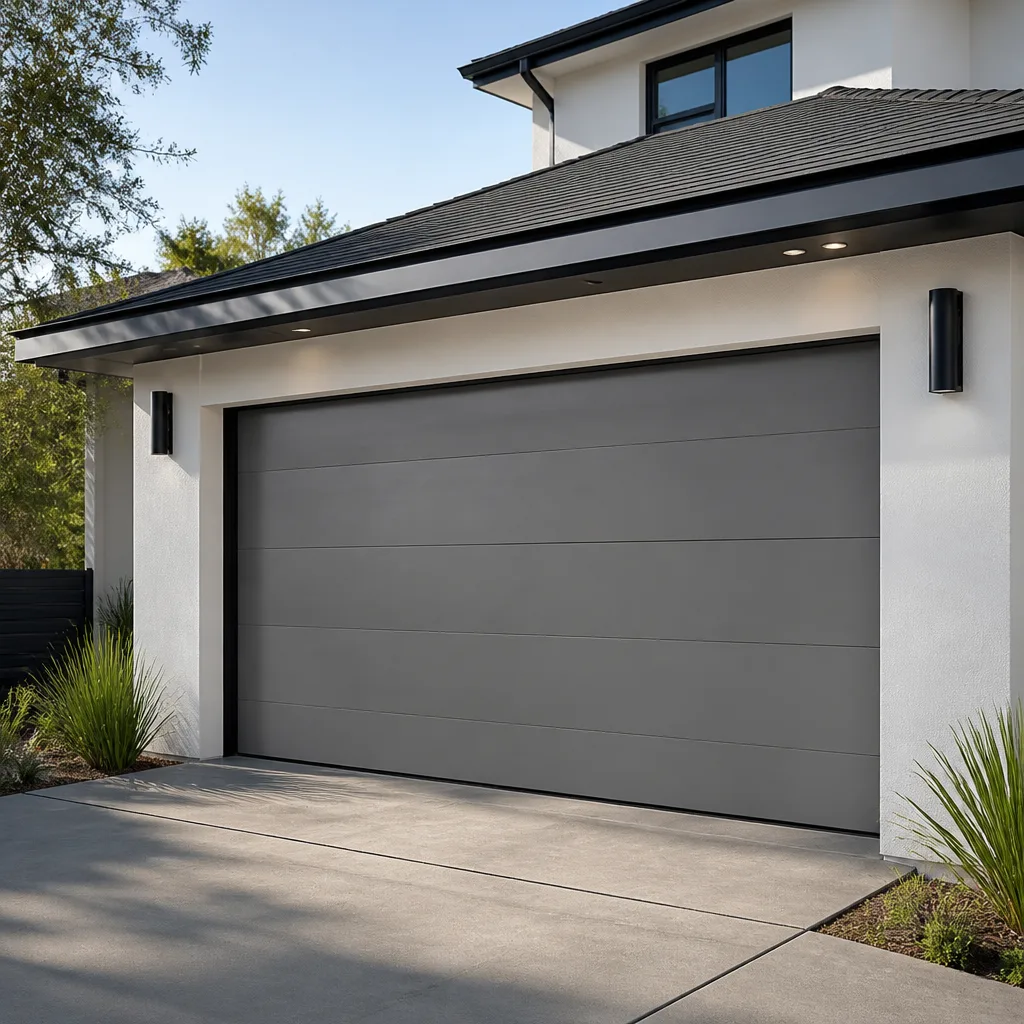 Modern flush
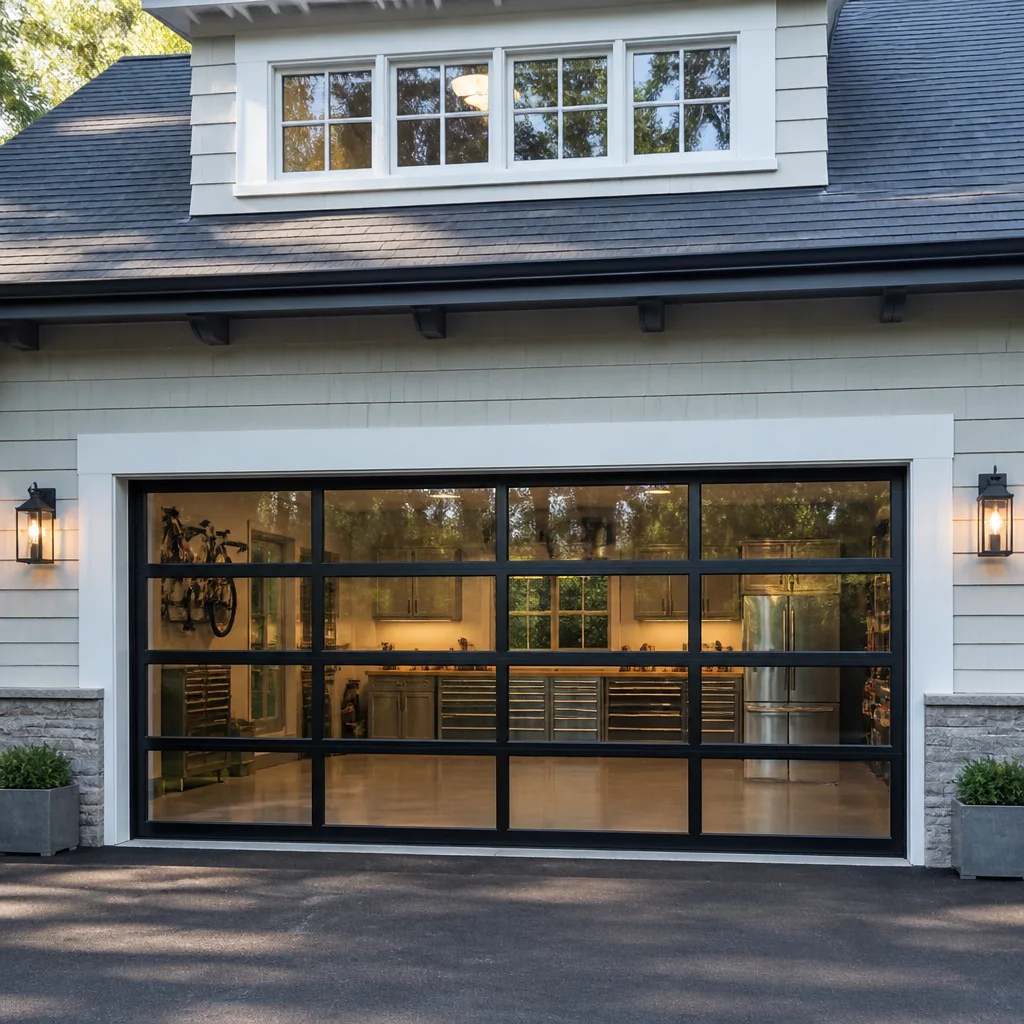 Full-view glass
 LiftMaster openers
 Chamberlain openers
Full 25-point door and opener safety check with every visit - springs, cables, rollers, tracks, and your LiftMaster or Chamberlain opener included
You get a price before we start. It does not change when the pro arrives.
Get your free estimateGarage Door Repair Maintenance Checklist for Lincoln Park Homeowners
The number-one source of premature spring failure isn’t age. It’s an out-of-balance door that nobody noticed because the opener motor was strong enough to muscle through it for years. By the time the spring snaps, the imbalance has been quietly working against every cycle. Most checklists hand you ten generic items and call it maintenance. Ours is sequenced the way a technician actually inspects a door: from the hardware under the highest stress to the parts most homeowners never touch. Nothing gets checked out of order. Nothing gets skipped. Here’s the full checklist for a Lincoln Park garage door, plus what “close enough” really means at each step.
Quick Answer
A proper garage door maintenance checklist in Lincoln Park runs in this order: balance test first, then spring and cable condition, then rollers, hinges and track, then lubrication (only where it belongs), then weather seals, then the opener and safety reverse. Inspect by usage cycles rather than calendar months, roughly every 3,000-5,000 cycles. Springs, cables and anything under high tension are professional work; the rest is yours to monitor.
Styles & brands we work with
- Raised-panel steel
- Carriage house
- Modern flush
- Full-view glass
- LiftMaster openers
- Chamberlain openers
Table of Contents
- Why Inspection Order Matters
- Step 1: The Balance Test
- Step 2: Springs and Cables
- Step 3: Rollers, Hinges and Track
- Step 4: Lubrication Done Right
- Step 5: Weather Seals for Chicago Freeze-Thaw
- Step 6: The Opener and Safety Reverse
- How Often to Inspect
- Common Mistakes to Avoid
Why Inspection Order Matters
A garage door is a balanced system, not a collection of parts. Change one thing and you shift the load somewhere else. That’s why a checklist that starts with “spray the hinges” and ends with “check the springs” is backwards. The balance test comes first because it tells you whether heavy components are under uneven strain. If the door is out of balance, every other measurement you take afterward is skewed.
In Lincoln Park, the order matters even more because of how these homes are built. Many garages here are detached, accessed by alleys, and set behind the main house. That means the door faces alley grit on one side and Chicago weather on the other, with no conditioned space buffering it. A door that lives this way wears differently than one attached to a heated structure, and the sequence of inspection should reflect it.
We work on garage doors only, across the brands we see most in this neighborhood – Amarr, Wayne Dalton, Craftsman, Raynor among them. The order below is the same one our technicians use on every door, regardless of manufacturer. Our technicians have up to 12 years of experience, and the sequence has never changed. Start at the point of highest stress. Work outward.
Step 1: The Balance Test (The One Everyone Skips)
The balance test tells you whether the springs are doing their job. Here’s how a technician does it without any danger:
- Close the door fully and disconnect the opener using the manual release cord.
- Lift the door by hand to roughly waist height, about halfway open.
- Let go. A properly balanced door stays put, or drifts only slightly.
- If it slams down fast or rises on its own, the springs are out of balance.
- Reconnect the opener before you do anything else.
“Close enough” is tighter than most people think. A door that holds within a few inches of where you left it is fine. A door that drops all the way down under its own weight is telling you the springs have lost tension or the door is heavier than the spring setup assumes. That’s the exact condition that burns out opener motors and shortens spring life.
We’ve seen this on plenty of Lincoln Park doors where the opener hid the problem for years. The motor is strong enough to lift an unbalanced door, so nobody notices until something snaps. Do this test carefully. Never stand under a door you’ve just released. If it fails, that’s a professional call, not a DIY fix.
Step 2: Springs and Cables (Look, Don’t Touch)
Springs and cables operate under extreme tension. This is the one section of the checklist where the instruction is inspect with your eyes only. Never try to adjust, loosen, or replace a torsion spring or cable on your own. The stored energy in a wound spring can cause serious injury in an instant.
What to look for on the springs:
- A visible gap or split in the coil (torsion springs break rather than stretch)
- Rust or corrosion eating into the wire, which weakens it
- A door that feels unusually heavy when lifted by hand
What to look for on the cables:
- Fraying near the drum or the bottom bracket, where cables take the most stress
- A single broken strand standing out from the braid, which signals the cable is heading toward failure
- Cables that look slack or off the drum
Fraying patterns matter. A cable that’s fraying at the drum end suggests the door has been running with an imbalance or worn rollers. A cable fraying mid-run points to a track or alignment issue. Either way, it’s a signal that something upstream is wrong, not just the cable itself. Spring repair is exactly the work we do – it’s in-house and it’s one of the few services many generalists decline. If you spot any of this, call before the door comes down.
Step 3: Rollers, Hinges and Track
Rollers are the cheapest part on the door and one of the most frequent causes of a door that shudders or sticks. Open and close the door and watch each roller moving through the track. Good rollers spin quietly. Bad rollers wobble, grind, or have a flat spot from a frozen bearing.
On hinges, look for loose screws and metal fatigue. Hinges carry the weight between panels, and a sagging hinge eventually throws the door out of line.
The track deserves its own look. Stand at the center of the door and sight down each side rail. It should look straight, not bent or bowed. Small dents from a stray bump can knock rollers out of alignment and cause the door to bind.
Here in Lincoln Park, alley grit accelerates this wear more than people expect. Every cycle drags fine dust and grit into the rollers and track, and over a winter that grit acts like sandpaper on bearings. If your garage opens onto an unpaved or gravel-dusted alley, plan on inspecting rollers more often than the calendar says. A quiet roller today is a worn roller in a year if the grit isn’t cleaned out.
Step 4: Lubrication Done Right (And What Never to Lubricate)
Lubrication is where good intentions cause damage. A misapplied spray can attract grit and accelerate wear on parts that should stay dry. Here’s the short list of what actually needs lubricant and what doesn’t.
Lubricate these:
- Metal rollers with steel bearings (a light application on the stem and bearing)
- Hinges at the pivot points
- Torsion spring coils, lightly, to reduce friction between coils
- The track where the rollers ride, sparingly
Never lubricate these:
- Nylon-wheel rollers (these are designed to run dry; lubricant gums them up)
- The opener rail if it has a belt drive (belt drives are meant to run clean)
- Anything you’re unsure about, until you confirm the part type
Use a garage-door-rated lubricant, not general-purpose oil or WD-40, which attracts dust. A little goes a long way. Too much lubricant in a Lincoln Park alley-fed garage just collects grit faster. If you’re not sure which roller type you have, our technicians can identify it during a free estimate, and we can supply the correct replacement parts while we’re there.
Step 5: Weather Seals for Chicago Freeze-Thaw
Weather seals take a beating in Lincoln Park because the freeze-thaw cycle here is relentless. Water gets into a crack or a compressed seal, freezes overnight, expands, and widens it. Repeat that a dozen times in a winter and a seal that was fine in October is failing by February.
There are two kinds of seal failure, and they look different:
- Cracking: the rubber or vinyl has dried out and split. This is an age and exposure problem, and the seal needs replacing.
- Compression-set: the seal has gone flat and no longer springs back against the door. It’s not cracked, but it no longer contacts the floor or frame. That’s what lets cold air and water in during a freeze-thaw cycle.
Check the bottom seal by looking for daylight under a closed door, and the side and top seals by running a hand along the edge to feel for gaps or stiffness. Compression-set is the sneaky one because the rubber still looks intact. If the seal feels firm and flat rather than rubbery, it’s spent. Replacing weather seals is straightforward, and it stops the cycle before it damages the door frame.
Step 6: The Opener and the Safety Reverse Test
The safety reverse system is the most important thing on your opener, and it’s the thing most homeowners never test. It’s designed to stop and reverse the door if something is in the way. Test it, don’t assume it.
- Place a solid object (a scrap of wood or a roll of tape) on the floor in the door’s path.
- Close the door using the opener and watch what happens.
- The door should reverse on contact. If it doesn’t, the opener needs attention.
Also watch the opener motor itself. Listen for straining, jerking, or a laboring sound. That’s the signature of an opener fighting an unbalanced door, which ties straight back to Step 1. A strong motor can hide a heavy door for a long time before it gives out. If your opener is straining, don’t wait for it to fail; garage door opener repair is a fast fix when it’s caught early.
Looking for a technician who recognizes the proprietary mechanisms across the models we see in Lincoln Park? We’re factory-familiar with the major brands and we’ll work on the brand already in your garage.
How Often Should You Inspect? Cycles, Not Calendar Months
Here’s a rule the generic checklists get wrong: garage door maintenance is based on usage cycles, not calendar months. A door that opens twice a day and a door that opens ten times a day wear at completely different rates, and a monthly calendar reminder doesn’t account for that. Count your cycles instead.
Rough frequency schedule by usage:
- Light use (1-2 cycles per day): a full balance-and-lube check every 6-12 months
- Moderate use (3-4 cycles per day): every 4-6 months
- Heavy use (5+ cycles per day): every 3-4 months
- Any door in a grit-fed Lincoln Park alley: add a roller and track check to every inspection, whatever the cycle count
In our experience working Lincoln Park doors, the cycle-based schedule catches problems earlier than a fixed calendar does. The alley context adds a variable most people miss: grit is a wear multiplier, and it doesn’t care what month it is. Between inspections, the balance test is the fastest way to know whether something’s drifting. If you’d rather hand the whole inspection to a specialist, garage door repair covers everything on this list from balance test to opener.
Common Mistakes to Avoid
- Spraying every moving part. Nylon-wheel rollers and belt-drive rails shouldn’t be lubricated. Lubricant on those parts attracts grit and shortens their life.
- Testing balance with the opener connected. The motor masks the problem. Always disconnect the opener before you test balance.
- Ignoring a door that holds “close enough.” A door that drops a few inches under its own weight is a warning. Small drifts become spring failures faster than people expect.
- Cleaning out the track by cutting or filing. A bent track needs realignment, not a DIY fix with a hammer. Misaligned track throws rollers and stresses the whole mechanism.
- Assuming a strong opener means a healthy door. A strong motor can hide an imbalance for years. The opener isn’t the problem to watch; the door’s balance is.
- Replacing a weather seal without addressing the frame. A leaking Lincoln Park seal often points to a freeze-thaw gap in the frame. Fixing only the seal means the same gap returns next winter.
- Putting off the professional parts. Springs and cables are high-tension work. A homeowner who gets impatient and tries to adjust one is risking serious injury. Call a specialist.
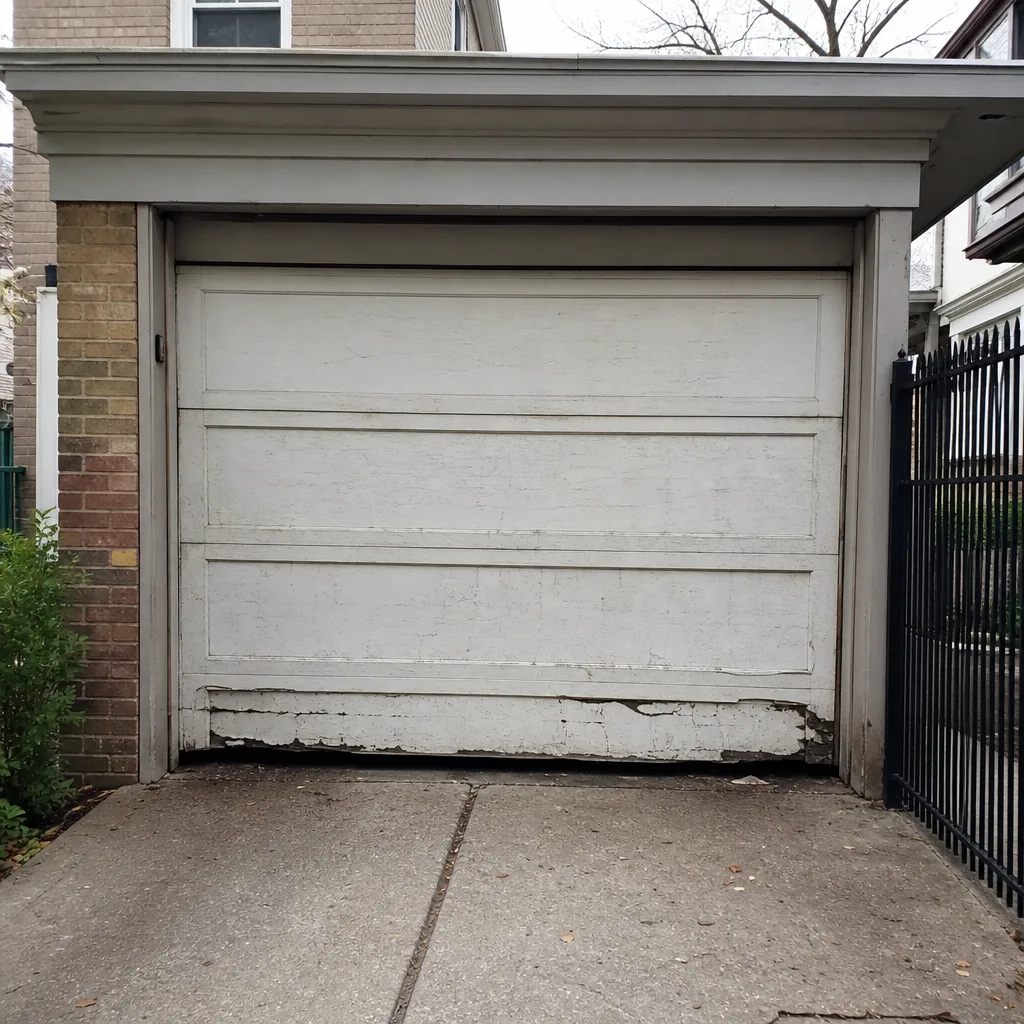
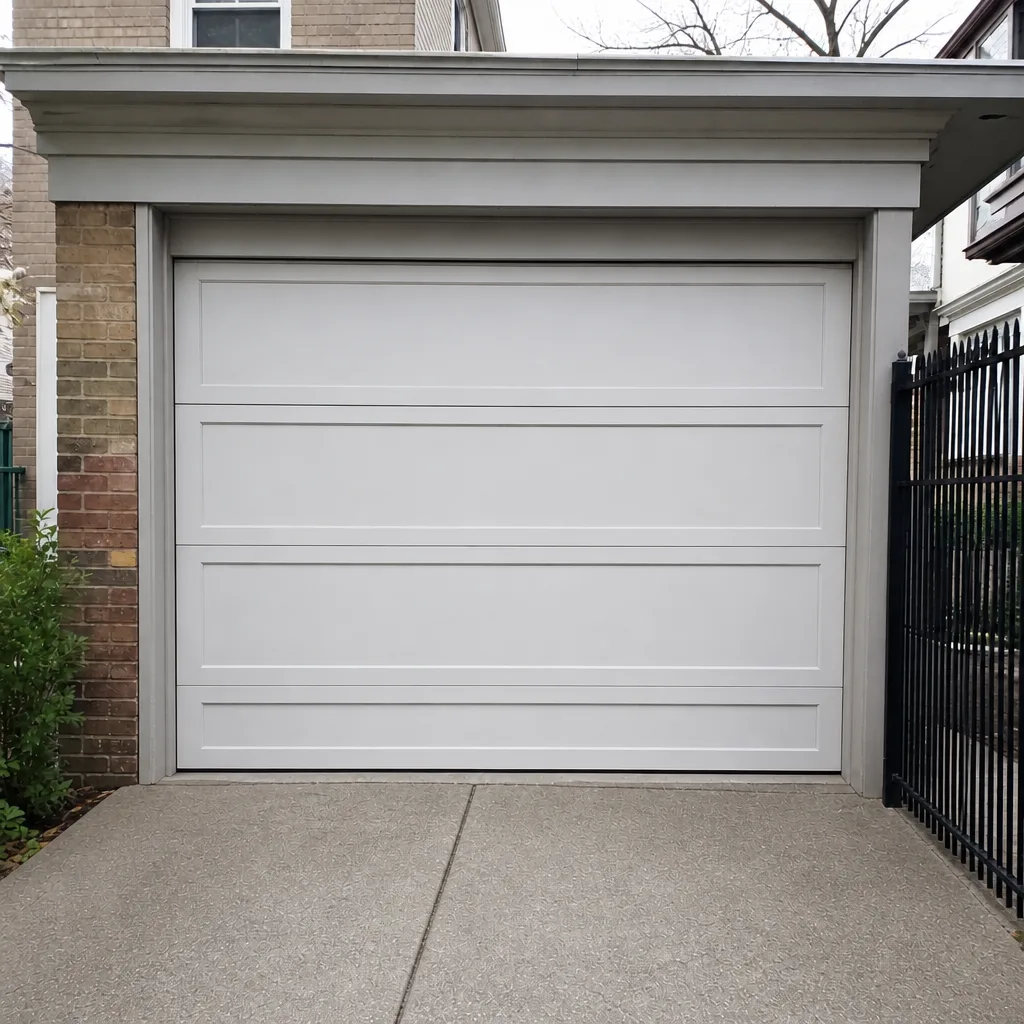
See the difference
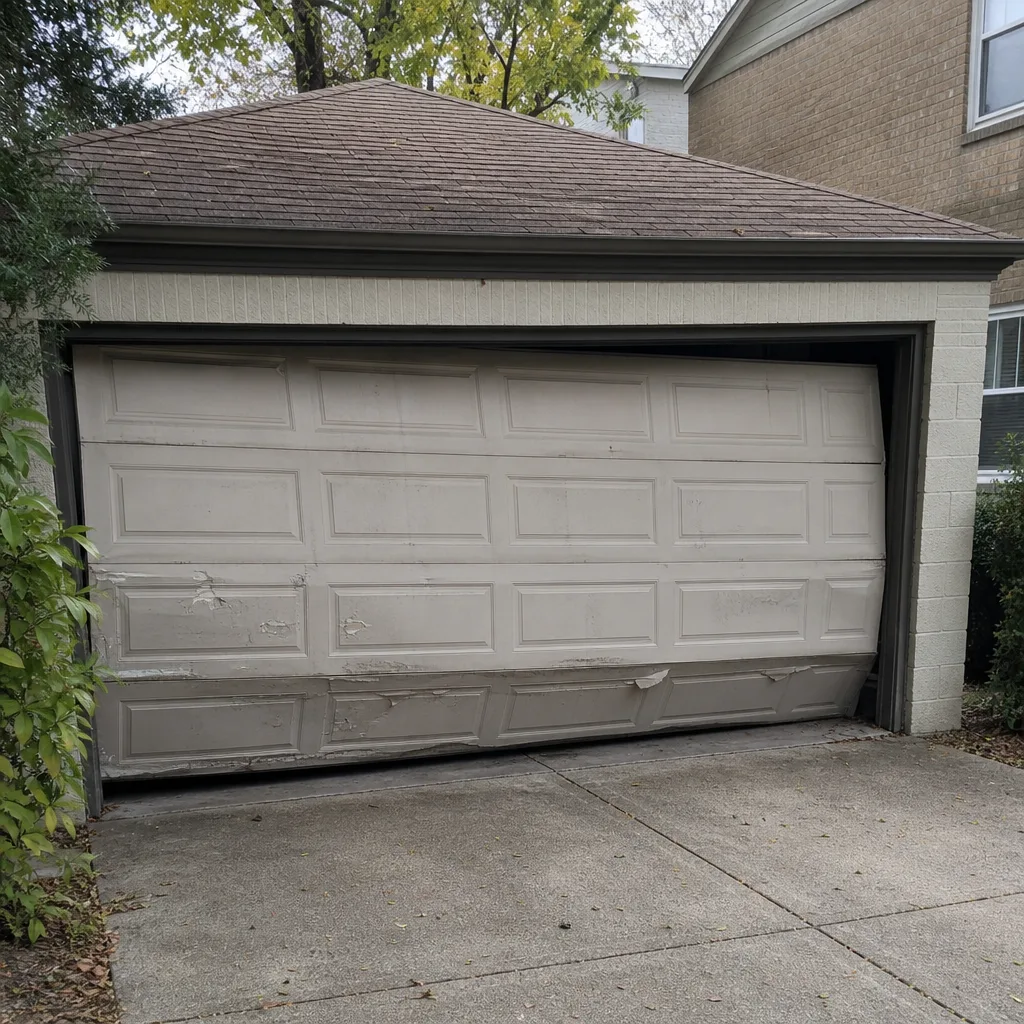 Before
 After
 Before
 After
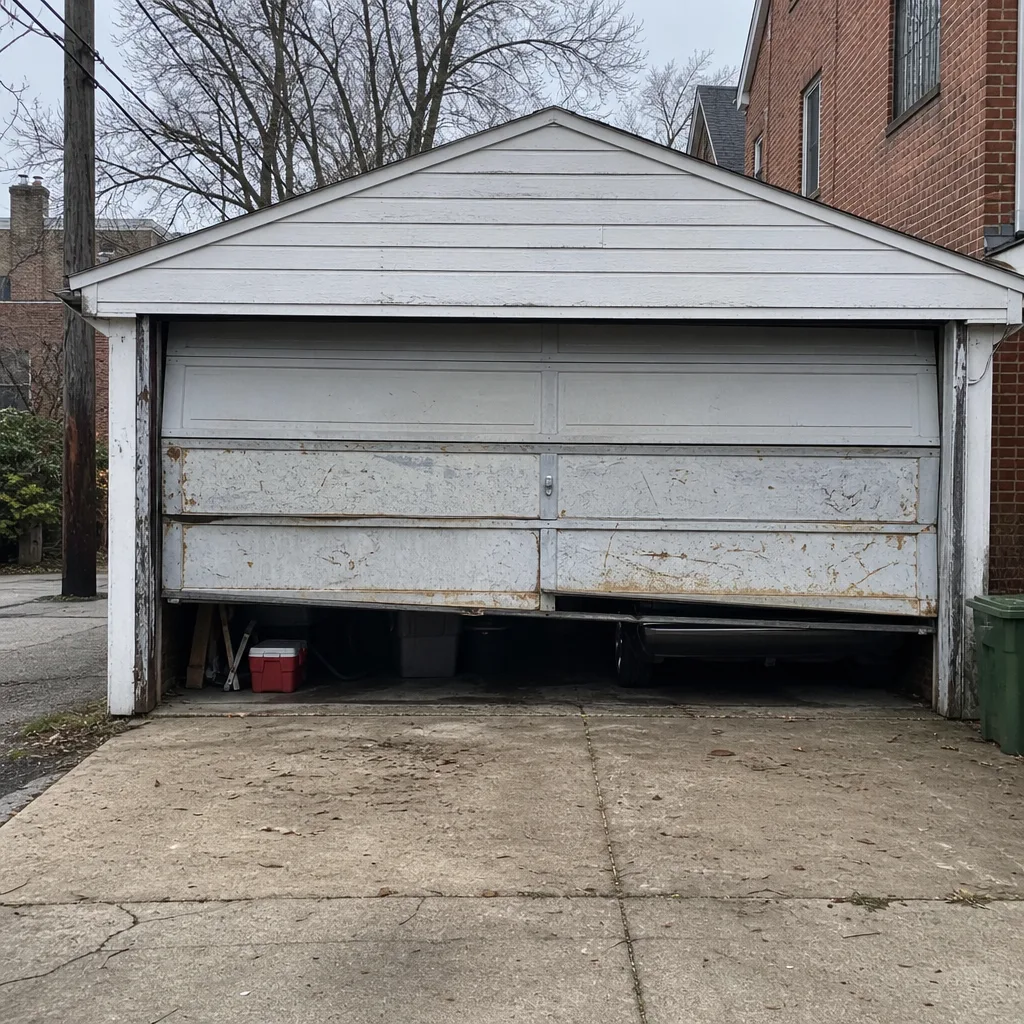 Before
 After
When to Call a Professional
Some of the checklist is yours. Some is not. Call a professional if the door slams under its own weight during the balance test, if springs show a gap or rust, if a cable is frayed or has a broken strand, if the door comes off its track, or if the opener strains or fails the safety reverse test. Never adjust a spring or cable yourself; that’s the one hard line on this whole list. Beyond that, a door that sticks, shudders, or leaves daylight under it deserves a look.
Garage Door Repair Lincoln Park offers free estimates in Lincoln Park. Call (855) 658-5155. We answer 24/7, and fast dispatch from 7am to 7pm, Sunday through Friday, keeps a failing door from becoming a bigger problem. Every price is written and agreed before any work starts, so the estimate is the number you pay.
Frequently Asked Questions
Close the door, pull the manual release to disconnect the opener, lift the door to about waist height, and let go. A balanced door stays roughly where you left it. If it slams down or rises on its own, the springs are out of balance, and a trained professional should check it before you keep using the opener.
No. Torsion and extension springs are under extreme tension and can cause serious injury if a homeowner tries to adjust or replace one. Spring repair is the one job this checklist reserves entirely for a trained technician. We do this work in-house – call (855) 658-5155 if a spring has failed.
Nylon-wheel rollers and the rail on a belt-drive opener should stay dry. Lubricant on those parts attracts grit and causes uneven wear. Metal rollers with steel bearings, hinges, and torsion spring coils are the parts that do need a light application of garage-door lubricant.
Base it on cycles, not calendar months. Light use (1-2 cycles a day) needs a check every 6-12 months; heavy use (5+ cycles a day) every 3-4 months. In Lincoln Park, add a roller and track check to every inspection because alley grit accelerates wear more than a typical driveway does.
Freeze-thaw cycles are hard on seals. Water gets into a crack, freezes, expands, and widens it, so a seal that works in autumn gives out by winter. If a seal feels firm and flat rather than rubbery against the door, it’s compression-set and needs replacing before the next cold snap.
Watch for a visible gap or split in the coil, rust eating into the wire, or a door that suddenly feels much heavier when lifted by hand. The most reliable signal is a balance test failure. If any of these show up on a Lincoln Park door, have a professional check it before the door comes down.
Yes. We work on the brand already in your garage – Amarr, Wayne Dalton, Craftsman, Raynor and the other major manufacturers – so a technician isn’t guessing at proprietary mechanisms. Our technicians have up to 12 years of experience across those systems. Call (855) 658-5155 to talk through your door.
The written estimate sets the final price. We quote and agree the price before any work starts, based on what we find on the doorstep. If a technician discovers something beyond what the photos suggested, that’s discussed with you first, not added afterward. Estimates are free; call (855) 658-5155.
The Bottom Line
A garage door maintenance checklist works when it’s sequenced correctly: balance test first, springs and cables second, rollers and track third, lubrication fourth, weather seals fifth, opener safety last. In Lincoln Park, base the schedule on cycles rather than months, and account for the alley grit that wears out rollers faster than a calendar ever will. Springs and cables stay professional work – look, don’t touch. Everything else you can monitor yourself between inspections. Hand the whole checklist to a specialist when a door sticks, shudders, or fails the balance test. Call (855) 658-5155 for a free estimate, and from the opener to the panel to the hardware, Garage Door Repair Lincoln Park keeps the door on track.
Ready to move from checklist to a real installation? garage door installation covers the full replacement process, from measure to written price.
Call (855) 658-5155 for a free estimate. We answer 24/7, with fast dispatch from 7am to 7pm, Sunday through Friday.
Written by the team at Garage Door Repair Lincoln Park.